
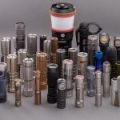
As you probably already know, photography is all about lighting. Get the lighting correct and you can practically make anything in the scene look fabulous. Here is my basic guide that anyone with a camera and some paper/cardboard can use to make their shots look better. All images are straight out of camera and have not been edited or retouched.
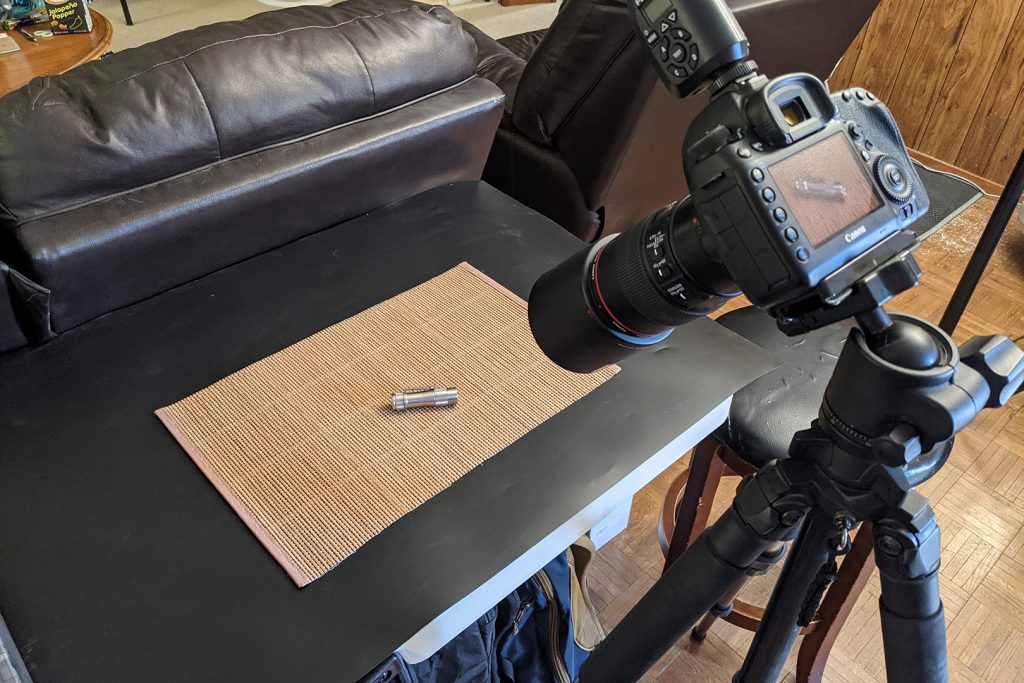
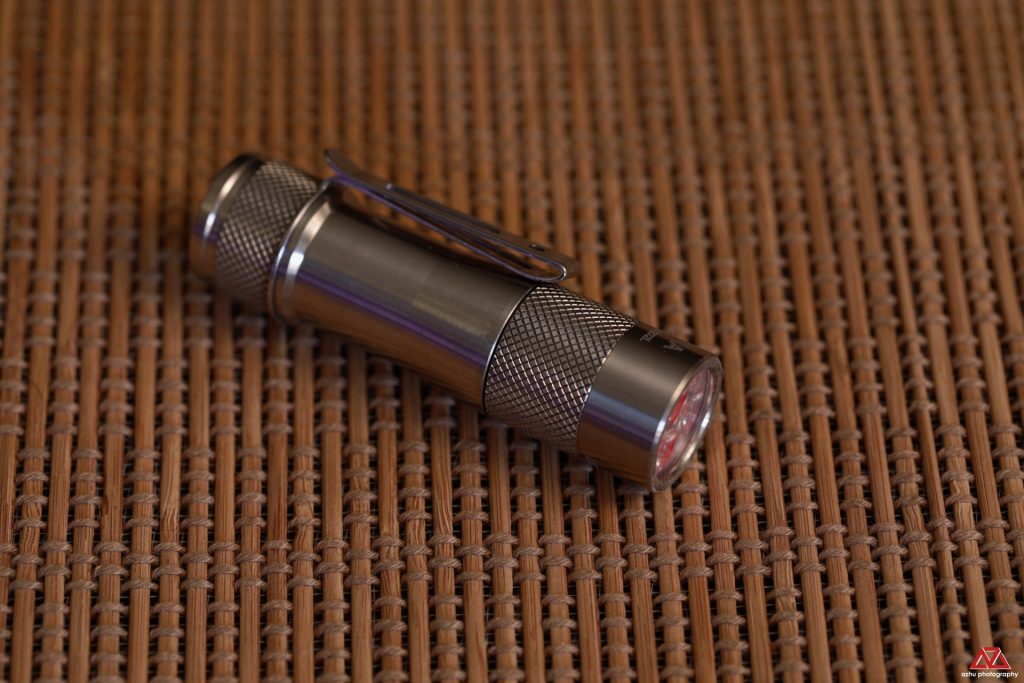
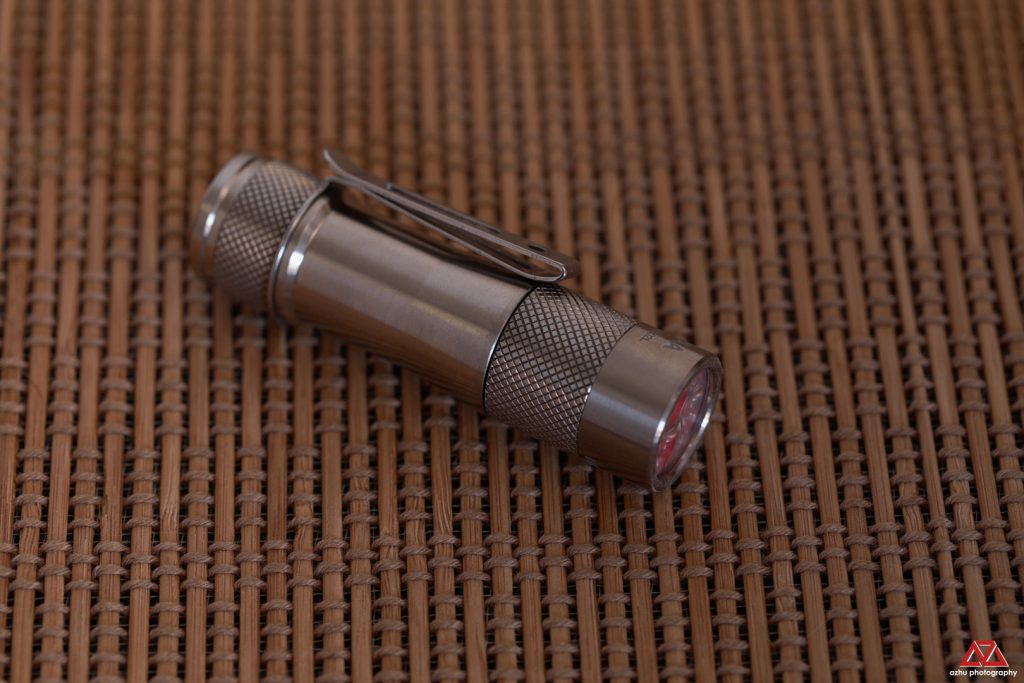
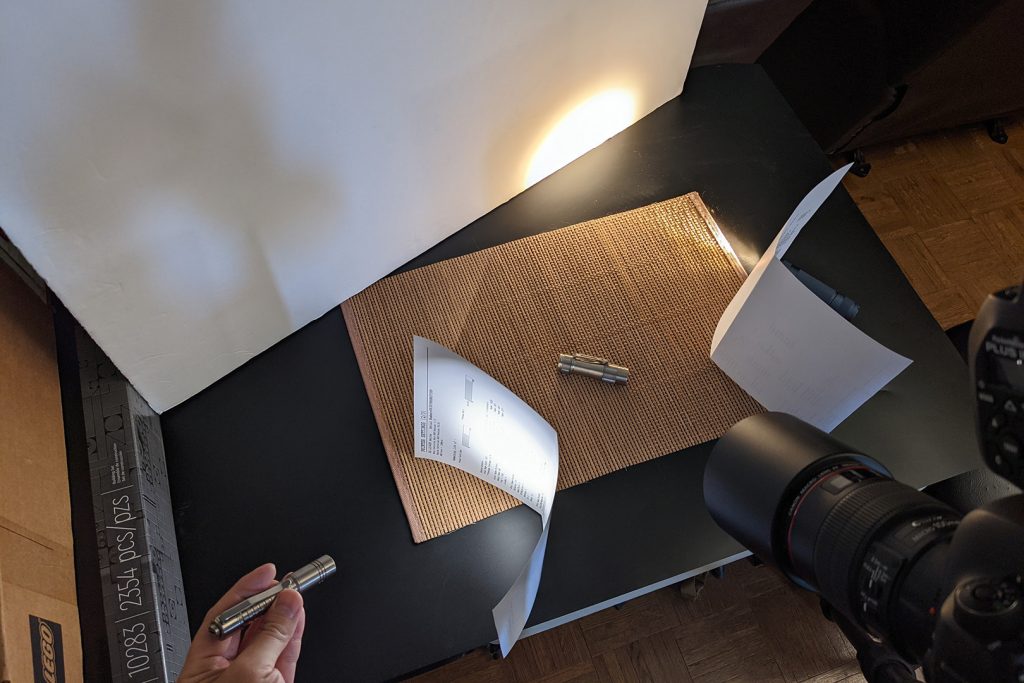
See above. Most people would put a product in some sort of scene and use existing light around the house or outside. While this isn’t ‘incorrect’, it doesn’t always produce flattering images.
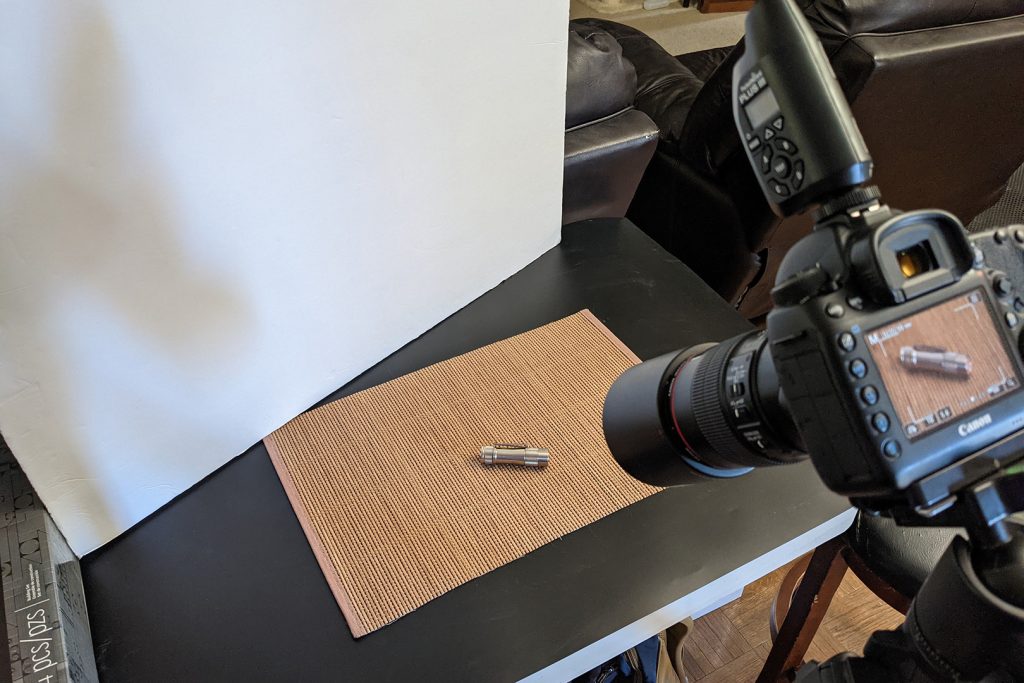
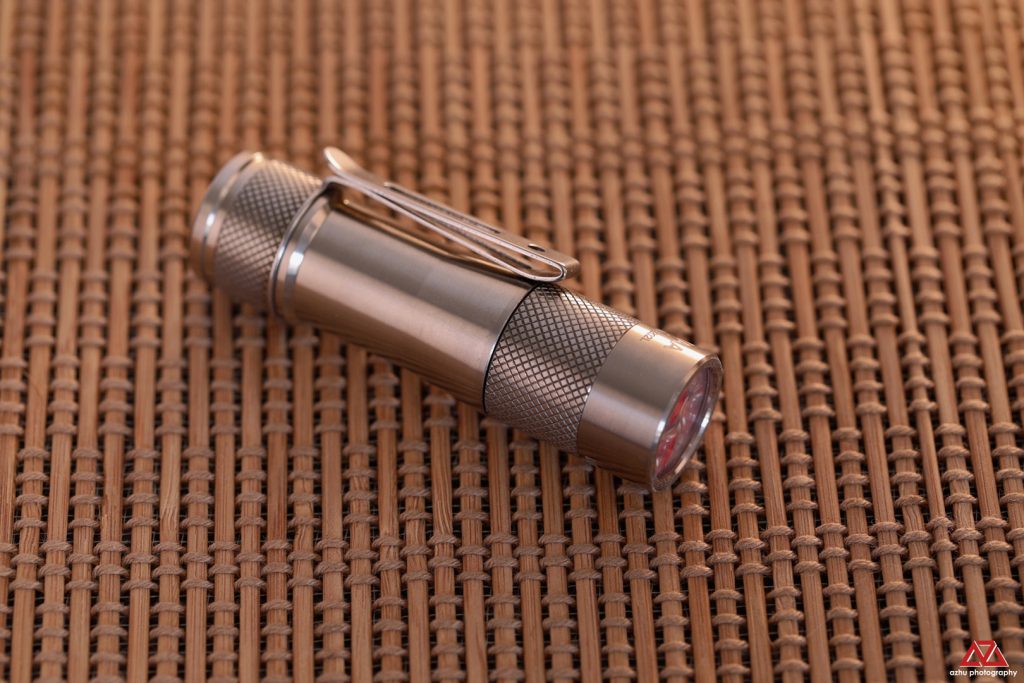
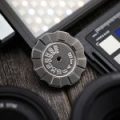
When photographing shiny objects, you’re actually photographing the reflections. Adding a white board eliminates distracting reflections but also creates fill lighting that soften up the shadows in your product.
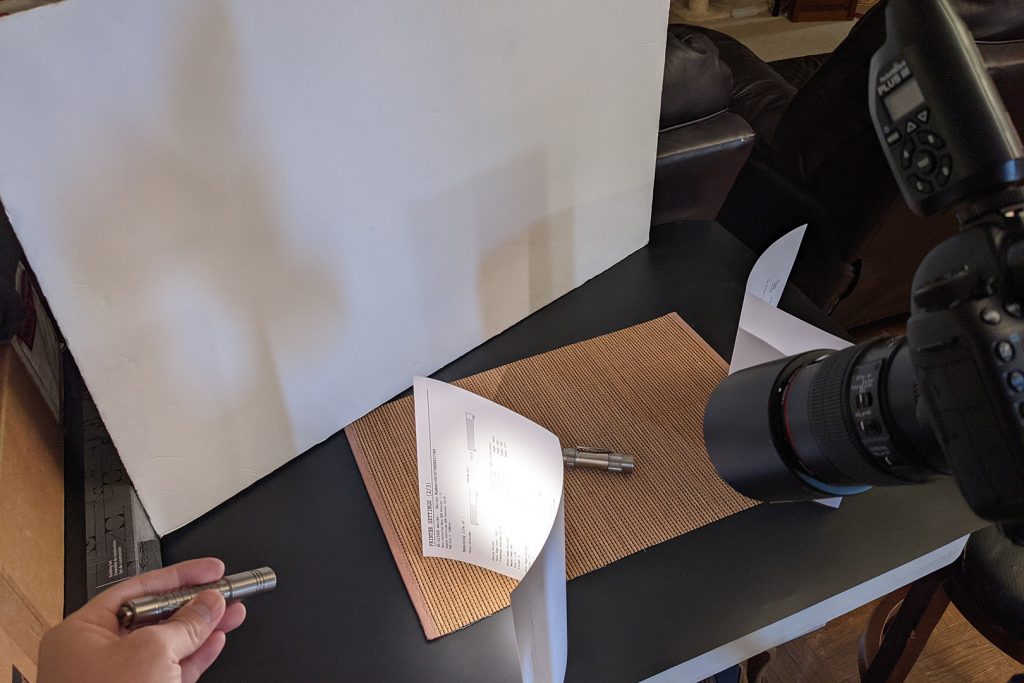
Adding 2 sheets of white paper to the side further helps with reflections and shining a light through the paper creates a softbox effect.
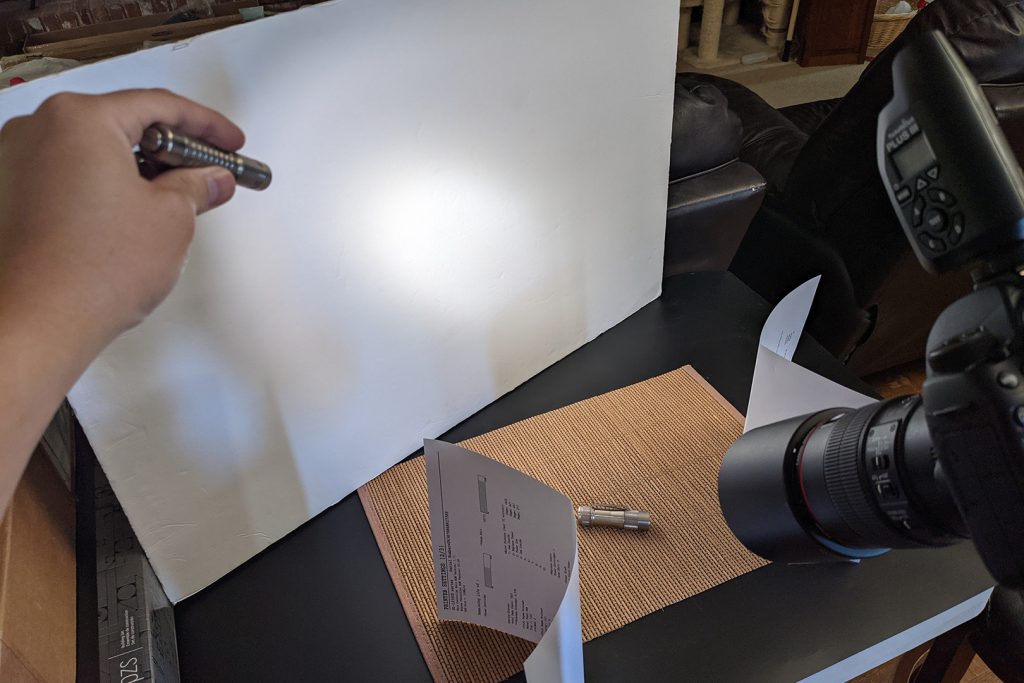

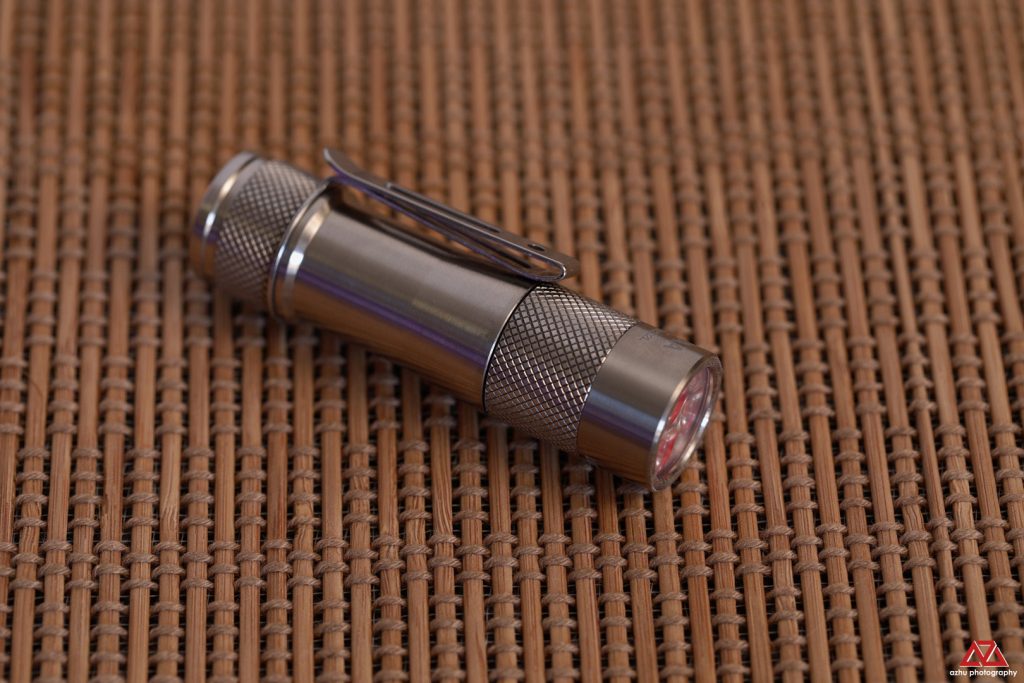
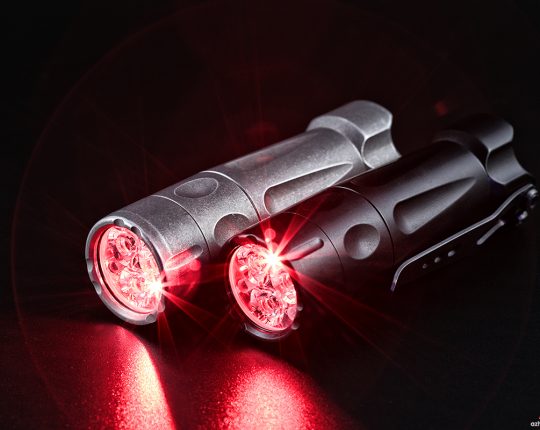
Alternatively, you can also shine a light to the background to add another feathered glow to the shot. Here you can see the background light is bouncing off the cardboard and onto the leftside white paper causing some fill light in the front.
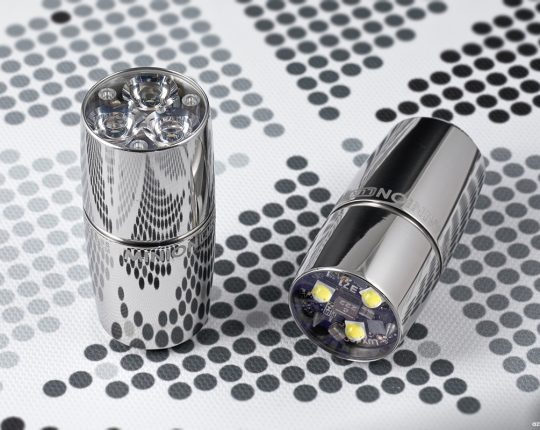
Lastly, you can combine the previous techniques by using 2 or more lights to illuminate the scene. Play around with the placement of the spotlight to get different effects. Also try turning the flashlight on and have it light up the right side paper for more fill light. You can also use different colored lights for a moody effect. Experiment and have fun!
I hope guide helps you in creating better images for your gear!
If you wish to support me through a small donation, I’d very much appreciate it! Happy shooting!

1 comments